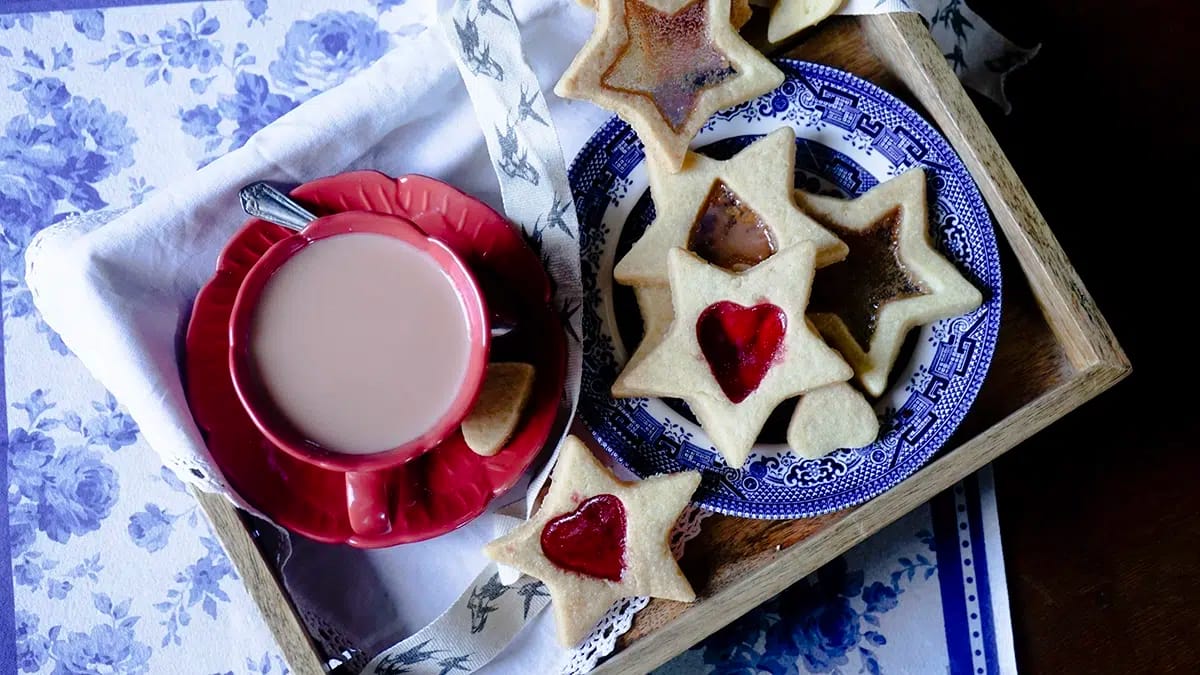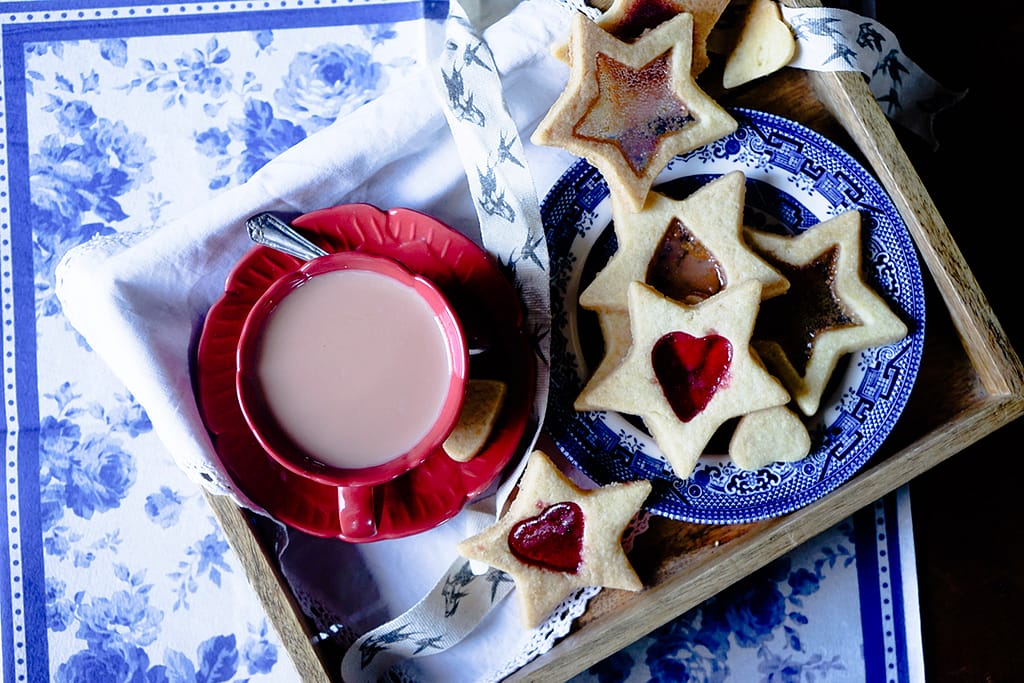
These British stained glass cookies, or window-pane cookies, as some would call them, are super easy to make. The recipe is free from baking powder and can easily be turned gluten free. Christmas Eve, peeking through windows to check that everyone is asleep before I sneak in to leave their gifts under the tree. If you love trying Christmas cookie recipes from around the world, check out my South African rusk recipe!
Speaking of Christmas Eve, my heart brimmed with anticipation as I soared high above the sprawling city of London one magical Christmas. The moon glowed gently upon the bustling streets, and the faint sound of carols reached my ears.
As I traversed the magnificent city, I marveled at the breathtaking sights that unfolded before me. Tower Bridge stood proud and majestic. Adorned in regal splendor, Big Ben chimed with a resonance that resonated deep within me. The bustling shops along Oxford Street glimmered with festive lights, adding a touch of magic to the cityscape.
Nestled within a quiet square, I caught sight of a majestic tree adorned with delicate stained glass cookies. They dangled like ornaments, their vibrant hues glistening in the moonlight. I had to taste one.
The cookie was a harmony of sweetness and nostalgia, a taste that carried the essence of Christmas. They were a gift, crafted with care and bestowed upon those who ventured close enough to discover their secret.
How to make the cookies (step-by-step)
Prepare the wet ingredients
- Preheat your oven to 350°F (175°C). Line two baking sheets with parchment paper and set aside.
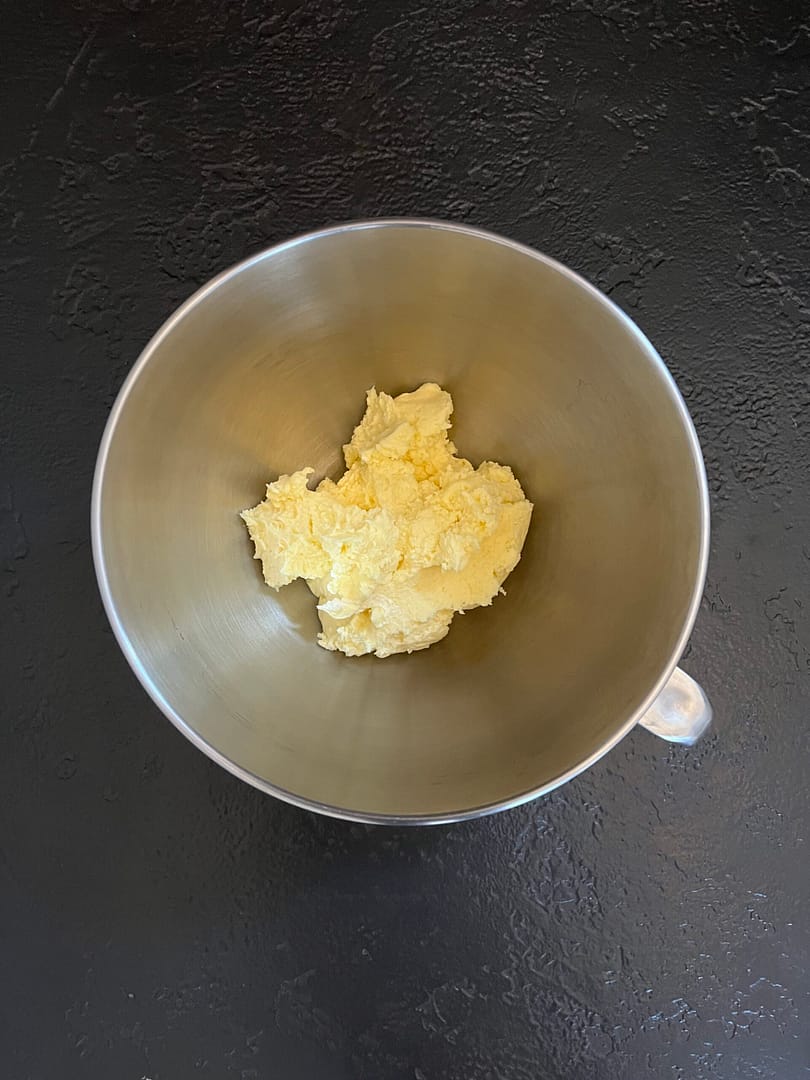
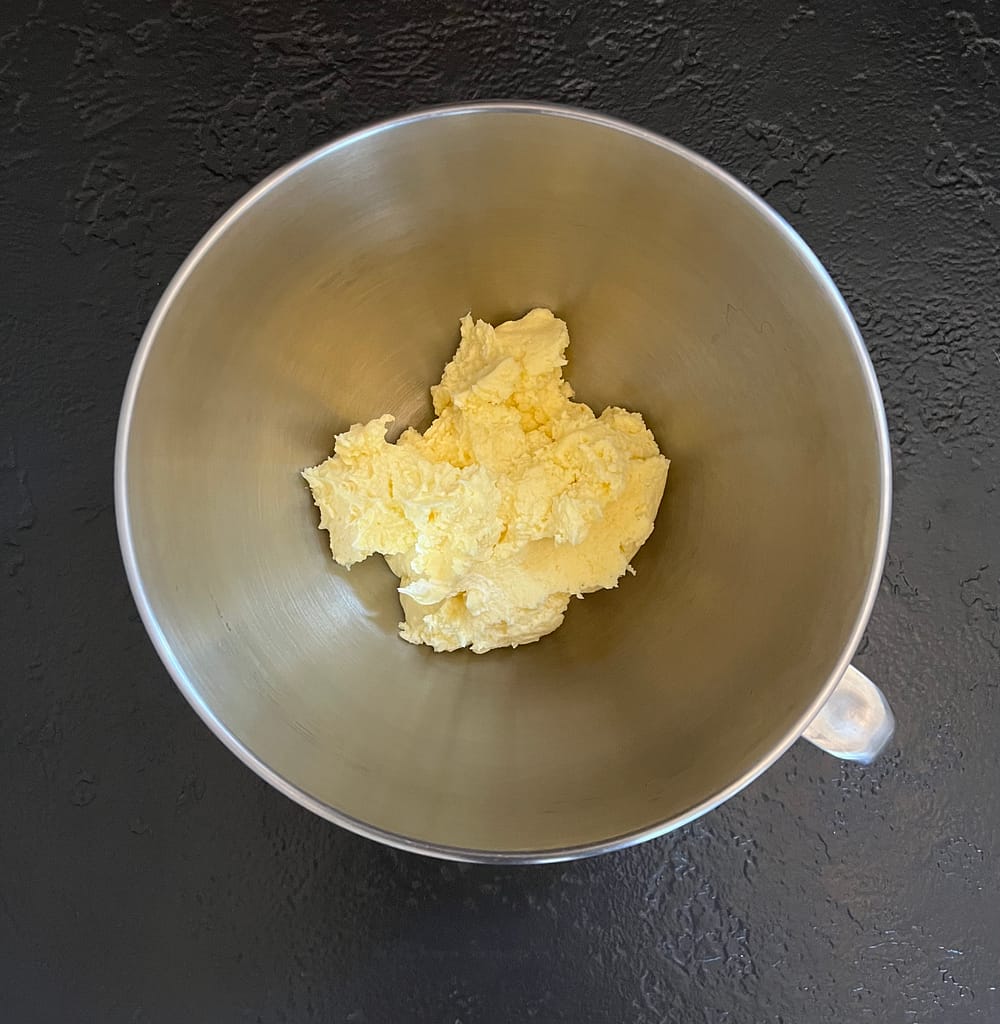
- In a large mixing bowl, cream together the softened butter and granulated sugar until light and fluffy.
- Add the egg and vanilla extract to the butter-sugar mixture and mix well until fully combined.
Prepare the dry ingredients and add to wet
- In a separate bowl, whisk together the all-purpose flour and salt.
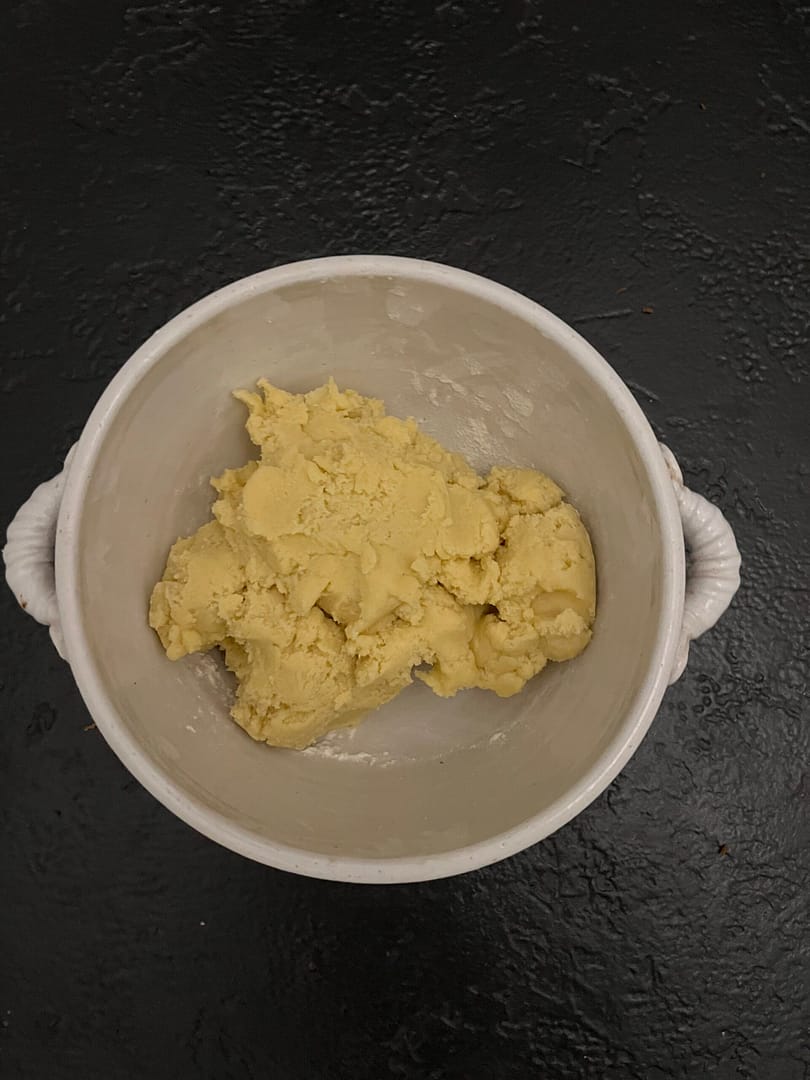
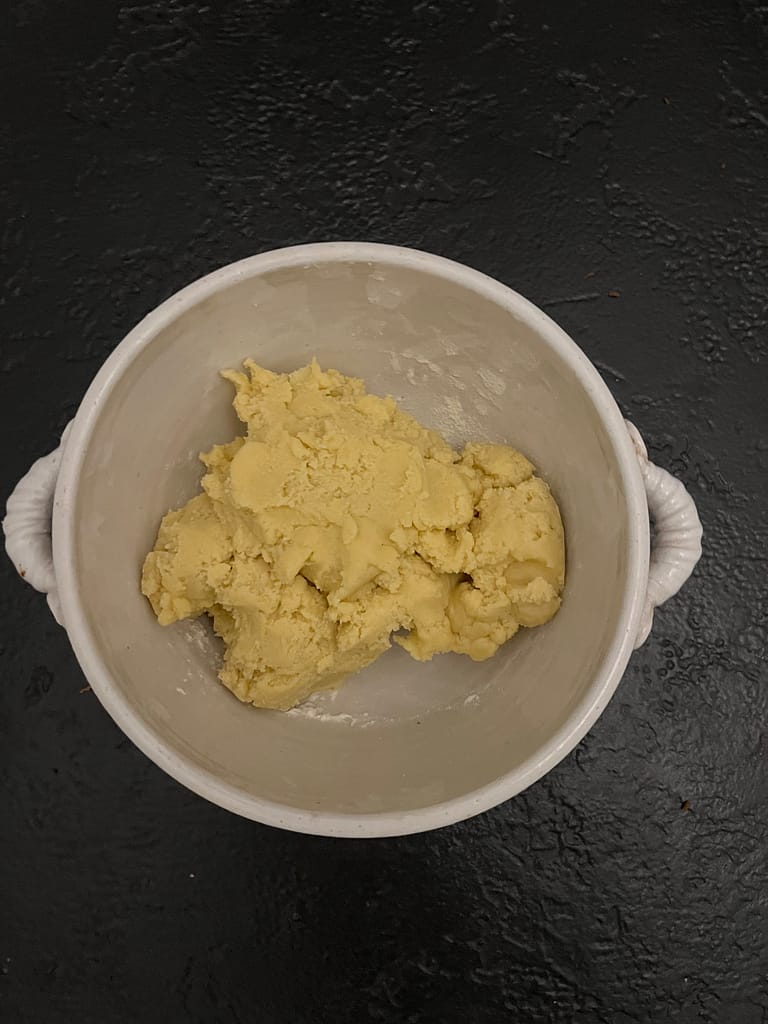
- Gradually combine the dry and wet ingredients, mixing until a dough forms. If the dough feels too sticky, you can add a little more flour.
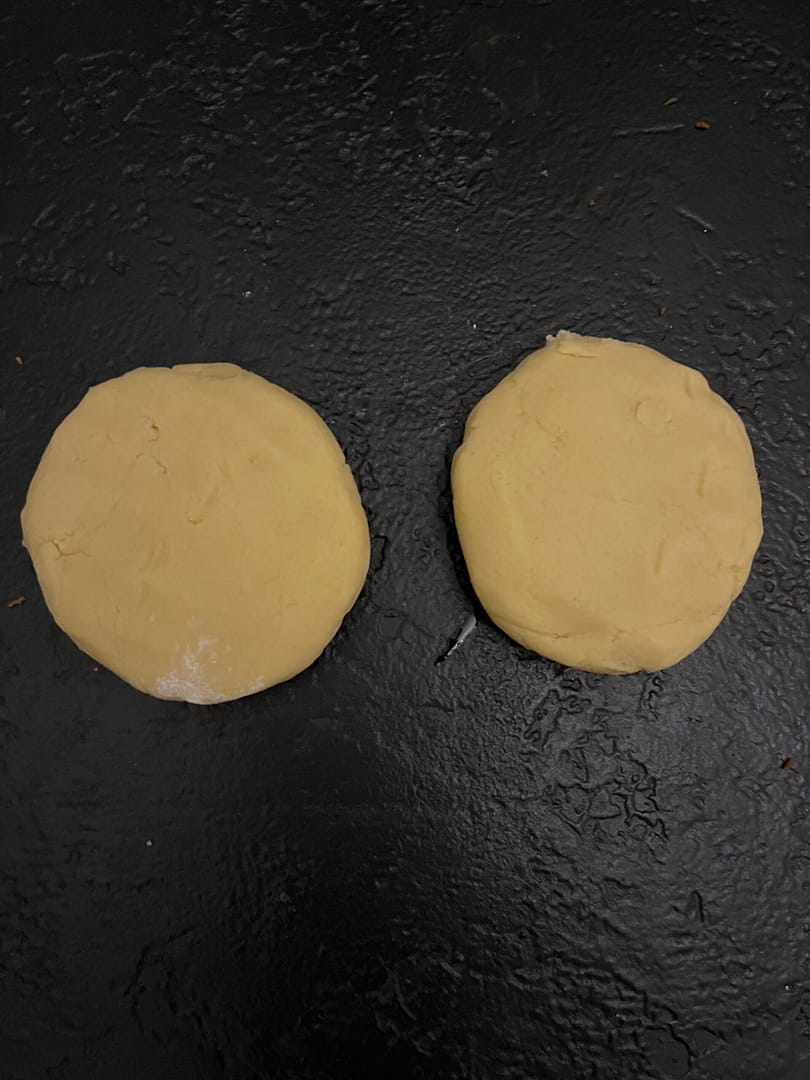
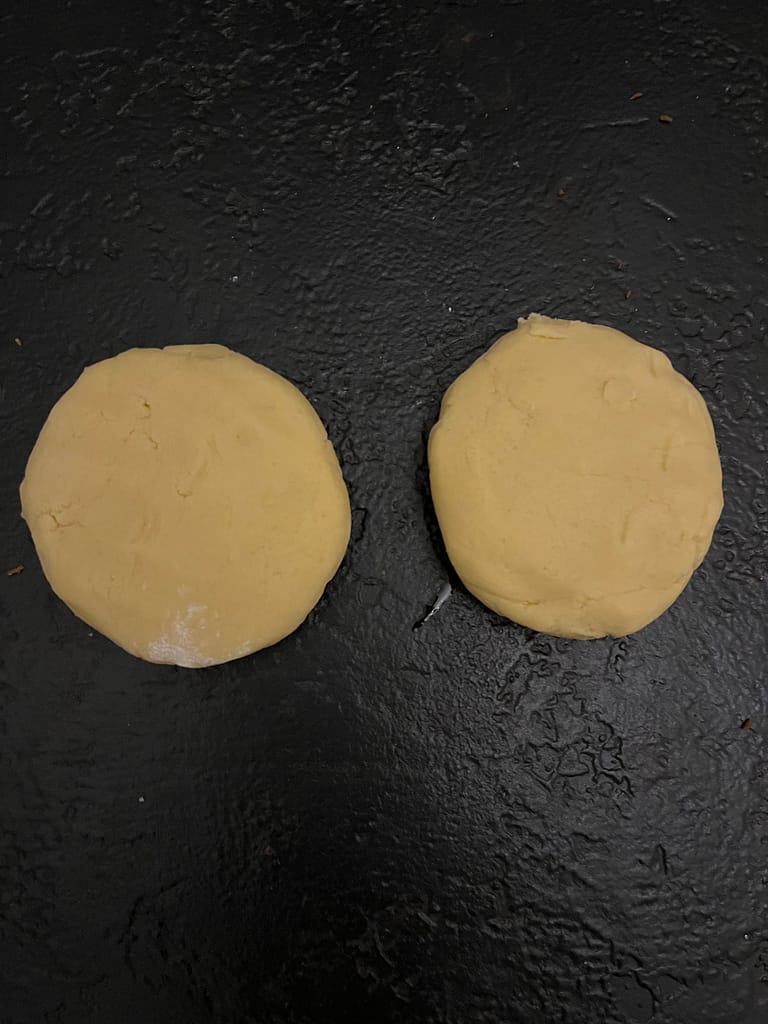
- Divide the dough into two equal portions. Wrap each portion in plastic wrap and refrigerate for about 20 minutes to firm up.
Cut the cookies
- Take one portion of the dough out of the refrigerator. Roll it out to about ¼ inch thickness on a lightly floured surface.
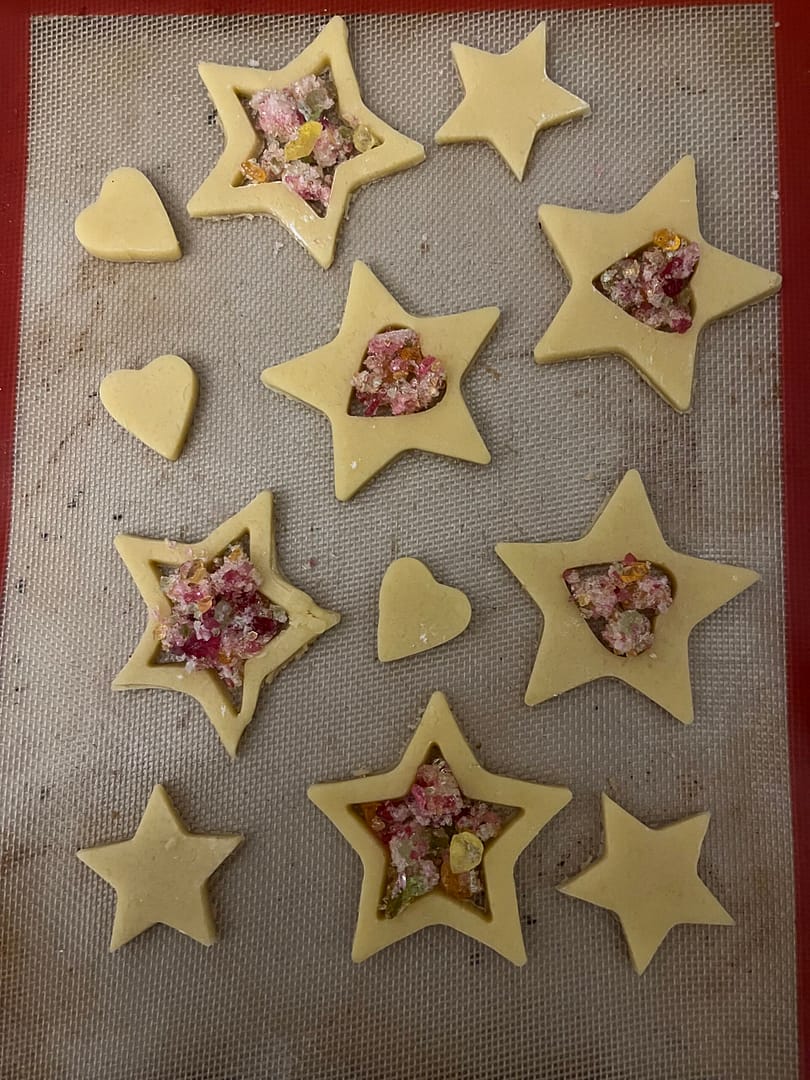
- Use cookie cutters to cut out shapes from the rolled dough. Leave a hollow space where the “stained glass” will go in the center of each shape.
Fill the cookie centers
- Carefully transfer the cut-out shapes to the prepared baking sheets, leaving some space between them.
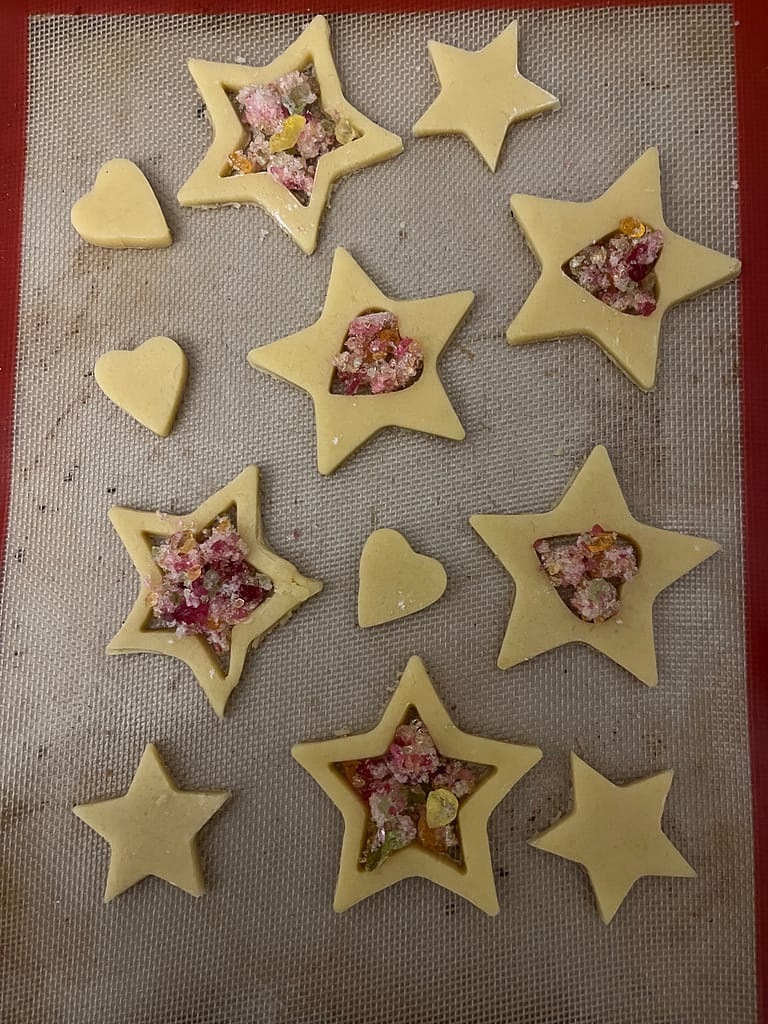
- Take the crushed hard candy and fill the hollow centers of the cookie shapes with the candy. You can use one color per cookie or create patterns with multiple colors. Repeat steps 7-10 with the second portion of dough.
Bake the cookies
- Place the baking sheets with the cookies in the preheated oven and bake for 10-12 minutes or until the edges of the cookies are lightly golden brown and the candy has melted and filled the hollow centers.
- Remove the baking sheets from the oven and allow the cookies to cool on the sheets for a few minutes. Then transfer them to a wire rack to cool completely.
- Repeat the baking process with any remaining dough.
Ingredients and Substitutions
Unsalted butter: It’s important to use unsalted butter in this recipe to have better control over the saltiness of the cookies. Ensure the butter is softened at room temperature for easier creaming with the sugar.
Granulated sugar: It provides your stained glass cookies with sweetness and helps to create a light and crispy texture.
Egg: The egg acts as a binder and adds moisture to the stained glass cookie dough, contributing to its structure and texture.
Vanilla extract: Vanilla extract enhances the flavor of stained glass cookies, giving them a delicious and aromatic taste. You can use pure or imitation vanilla extract.
All-purpose flour: All-purpose flour serves as the base ingredient for the cookie dough. It provides structure and helps to hold the cookies together. You can use gluten-free flour to make these stained glass window cookies gluten-free!
Salt: A small amount of salt is added to balance the sweetness and enhance the overall flavor profile of stained glass cookies. It also enhances the flavors of the other ingredients.
Hard candy in various colors: The stained glass effect of these cookies comes from crushed hard candy. Choose hard candies in various colors, like jolly ranchers or candy melts, to create a vibrant and visually appealing appearance. Popular choices include clear, red, green, and blue candies. Make sure to crush them into small pieces before using them. A meat mallet works well for this.
Storage and Shelf-life
To keep your cookies fresh and maintain their delightful texture, follow these storage instructions:
Allow the stained glass cookies to cool completely before storing them. This helps prevent moisture buildup, which can lead to a loss of crispness.
Place the cookies in an airtight container with a tight-fitting lid. This will help maintain their freshness and protect them from becoming stale.
If you have multiple layers of cookies, place a sheet of parchment or wax paper between each layer to prevent sticking and preserve their appearance.
Store the stained glass cookies in a cool, dry place away from direct sunlight, as sunlight can cause the colors of the stained glass to fade over time.
Avoid storing the cookies in the refrigerator, as the moisture in the fridge can make the cookies soft and cause the candy centers to become sticky.
Make-Ahead Instructions/Notes:
If you’d like to prepare the dough ahead of time or make the stained glass cookies in advance, here are some helpful tips:
Dough preparation: After preparing the cookie dough, wrap it tightly in plastic wrap and refrigerate it for up to 2 days. When ready to bake, allow the dough to come to room temperature before rolling it out and proceeding with the recipe.
Freezing cookie dough: If you want to freeze the cookie dough for longer storage, shape it into a disk, wrap it tightly in plastic wrap, and place it in a freezer-safe bag or container. The dough can be frozen for up to 1 month. Thaw the dough in the refrigerator overnight before using it.
Baked stain glass cookie storage: If you have already baked the cookies and want to store them ahead of time, follow the storage instructions mentioned above. Stained Glass Cookies can be stored in an airtight container for up to 1 week, maintaining their flavor and texture.
Tips For Stained Glass Cookies
Crush the candy carefully: When crushing the hard candy to create the stained glass effect, make sure to do it gently and evenly. You can place the candies in a plastic bag and use a rolling pin or a mallet to crush them into small, uniform pieces. Avoid crushing them too fine, as larger pieces look more striking.
Use parchment paper: Line your baking sheets with parchment paper to prevent the cookies from sticking and to make clean-up easier. The parchment paper also helps to protect the candy centers from spreading and sticking to the pan.
Chill the dough: After mixing the stained glass cookie dough, it’s essential to refrigerate it for about 20 minutes before rolling it out. Chilling the dough helps it firm up, making it easier to handle and cut into shapes. It also helps the cookies retain their shape during baking.
Make clean cuts: When cutting out the cookie shapes, use sharp cookie cutters and make clean, precise cuts. This will ensure that the cookies bake evenly and retain shape, creating a polished appearance.
Remove excess candy: After filling the cookie shapes with crushed candy, use a small spoon or your fingertips to remove any excess candy that may have spilled over the edges. This helps maintain the defined shapes of the cookies and prevents the candy from spreading too much during baking.
Cool completely: Allow the baked stained glass cookies to cool completely on the baking sheets before transferring them to a wire rack. The candy centers will harden as they cool, allowing the cookies to set properly.
Handle with care: Window pane cookies can be delicate due to the candy centers. Handle them gently when transferring or storing them to avoid any breakage.
Gluten-free Variation
Here are ways to turn this recipe into a gluten-free version.
Gluten-free flour blend: Replace the all-purpose flour with a gluten-free flour blend. Look for pre-packaged gluten-free flour blends available in stores, or make your blend using a combination of gluten-free flour such as rice flour, almond flour, and tapioca flour/starch. Follow the recommended substitution ratio on the packaging or use a 1:1 ratio (1 cup of gluten-free flour for 1 cup of all-purpose flour).
Xanthan gum: If your gluten-free flour blend does not contain xanthan gum or another binding agent, you may need to add it separately. Xanthan gum helps provide structure and elasticity to gluten-free baked goods. Follow the package instructions for the appropriate amount to add based on the quantity of flour used.
Check candy ingredients: Ensure that the hard candies you use for the stained glass effect are gluten-free. Some candy brands may contain gluten as an ingredient or have a risk of cross-contamination. Read the labels carefully or choose specifically labeled gluten-free candies.
Note: texture and baking time: Gluten-free dough may have a slightly different texture and can be more delicate than dough made with wheat flour. Be gentle when rolling out and handling the dough. Monitor the baking time closely, as gluten-free stain glass cookies tend to brown faster. Start with the recommended baking time in the recipe, but be prepared to adjust it slightly based on the appearance and texture of the cookies.

Ingredients
- 1 cup unsalted butter softened
- 1 cup granulated sugar
- 1 large egg
- 1 teaspoon vanilla extract
- 2 ½ cups all-purpose flour
- ¼ teaspoon salt
- Hard candy in various colors crushed
Instructions
- Preheat your oven to 350 °F. Line two baking sheets with parchment paper and set aside.
- In a large mixing bowl, cream together the softened butter and granulated sugar until light and fluffy.1 cup unsalted butter, 1 cup granulated sugar
- Add the egg and vanilla extract to the butter-sugar mixture and mix well until fully combined.1 large egg, 1 teaspoon vanilla extract
- In a separate bowl, whisk together the all-purpose flour and salt.2 ½ cups all-purpose flour, ¼ teaspoon salt
- Gradually add the dry ingredients to the wet ingredients, mixing until a dough forms. If the dough feels too sticky, you can add a little more flour.
- Divide the dough into two equal portions. Wrap each portion in plastic wrap and refrigerate for about 20 minutes to firm up.
- Take one portion of the dough out of the refrigerator. On a lightly floured surface, roll it out to about ¼ inch thickness.
- Use cookie cutters of your choice to cut out shapes from the rolled dough. Make sure to leave a hollow space in the center of each shape where the “stained glass” will go.
- Carefully transfer the cut-out shapes to the prepared baking sheets, leaving some space between them.
- Take the crushed hard candy and fill the hollow centers of the cookie shapes with the candy. You can use one color per cookie or create patterns with multiple colors.Hard candy in various colors
- Repeat steps 7-10 with the second portion of dough.
- Place the baking sheets with the cookies in the preheated oven and bake for 10-12 minutes or until the edges of the cookies are lightly golden brown and the candy has melted and filled the hollow centers.
- Remove the baking sheets from the oven and allow the cookies to cool on the sheets for a few minutes. Then transfer them to a wire rack to cool completely.
- Repeat the baking process with any remaining dough.
